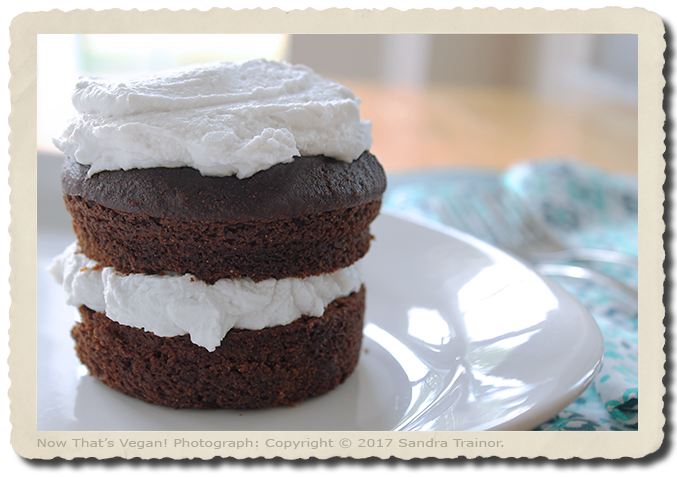
 These small chocolate cakes are bigger than standard size cupcakes, but they’re still so cute! And instead of frosting, these cakes use a nondairy coconut cream whipped topping. Plus, they’re gluten-free, vegan, and delicious. For a romantic dessert, share one served with two dessert forks. If you’re looking for a single serving size, this recipe includes a variation for whoopie pies (two mound-shaped chocolate cookies with a creamy filling).
Dry Ingredients:
- 1 1/4 cup Bob’s Red Mill Gluten-Free ‘Sweet’ White Sorghum Flour or other brand
- 1 cup Bob’s Red Mill Gluten-Free Almond Meal Flower or other brand
- 1/3 cup Bob’s Red Mill Gluten-Free Garbanzo and Fava Flour or other brand
- 1/2 cup cocoa, cacao, or carob powder
- 1 teaspoons aluminum-free baking powder
- 1 teaspoons baking soda
- 1 teaspoon Himalayan salt
Wet Ingredients:
- 1 recipe Flax Seed ‘Eggs’ (1 tablespoon ground flax seeds mixed with 3 tablespoons water)
- 1/2 cup almond milk
- 3/4 cup 100% pure maple syrup
- 1/4 cup unsweetened applesauce
- 1 tablespoon grapeseed oil, with extra to grease the ramekins
- 2 teaspoons Bragg Organic Apple Cider Vinegar or other brand
- 1 teaspoon pure vanilla extract
Nondairy Whipped Cream:
- 4 (13.66oz) cans full fat coconut milk, unopened, unshaken, refrigerated overnight.
- 1/8 teaspoon stevia, or to taste.
Directions:
- First make the cream. To do so, remove the cans of coconut milk from the refrigerator. Don’t shake or stir. Just open them. The coconut milk should have separated from the coconut water. Use a spoon to remove the thickened coconut milk and place it in a mixing bowl. So not to let the coconut water go to waste, refrigerate it in an airtight container for up to 3 days, for use in your smoothies. Add stevia to the thickened coconut milk, mix with an electric mixer or egg beater for 1 minute or until light and fluffy. Cover and refrigerate for 20 minutes or more to chill.
- In a large size bowl, whisk together all the dry ingredients to combine and aerate.
- In a medium size bowl mix together all the wet ingredients.
- Pour the wet ingredients into the dry and mix with an electric mixer for 2 minutes or until well combined.
- Grease ramekins with oil. Scoop the batter into each, divided evenly between them. Gently tap the side of each ramekin to remove any unwanted air pockets.
- Bake in a preheated 375º F oven for 35 – 40 minutes, or until an inserted toothpick comes out clean. Let completely cool.
- Just before serving, use a butter knife to carefully loosen the cakes from the ramekins. Flip, one at a time, so to allow the cakes to fall onto individual serving plates. Position upright, cut in half and fill with a tablespoon of the nondairy whipped cream. Cover with the top portion of the cake. If desired, top with more cream, then use butter knife to smooth it out. Stores refrigerated in airtight containers for up to 3 days.
Variations:
- For chocolate cookies, nix the cream, and instead of placing the batter in ramekins, place a heaping tablespoon of batter two large parchment paper lined baking sheets. Repeat with the remaining batter, leaving at least 1-inche of space around each to spread as they bake. As with the whoopie cakes, bake in a 375º F oven, but for only for 25 to 30 minutes. Remove from oven and let cool before serving. Makes 12 to 14 cookies.
- For whoopie pies, follow the above instructions for the chocolate cookie variation, only don’t nix the cream. Flip one cooled cookie upside-down, add a desired amount of cream, spread evenly with a knife, then top with a second cookie, so to sandwich the cream between two cookies. Repeat with the remainder cookies and cream. Makes 8 whoppie pies.
Yield:
Makes 6 whoppie cakes


Loved your recipes. Can you suggest an oil substitute? when baking?
Thank you Rose. I’m glad you are pleased with my recipes. When baking, I tend to use either grapeseed oil or melted coconut oil.